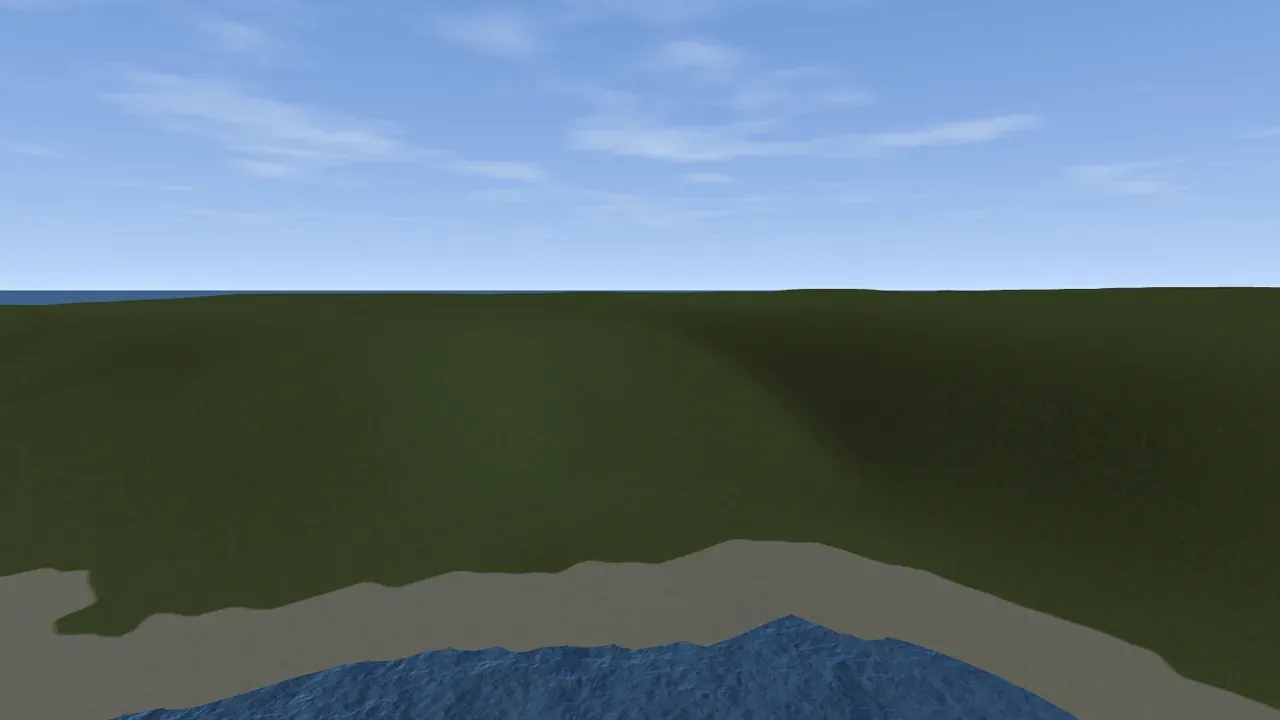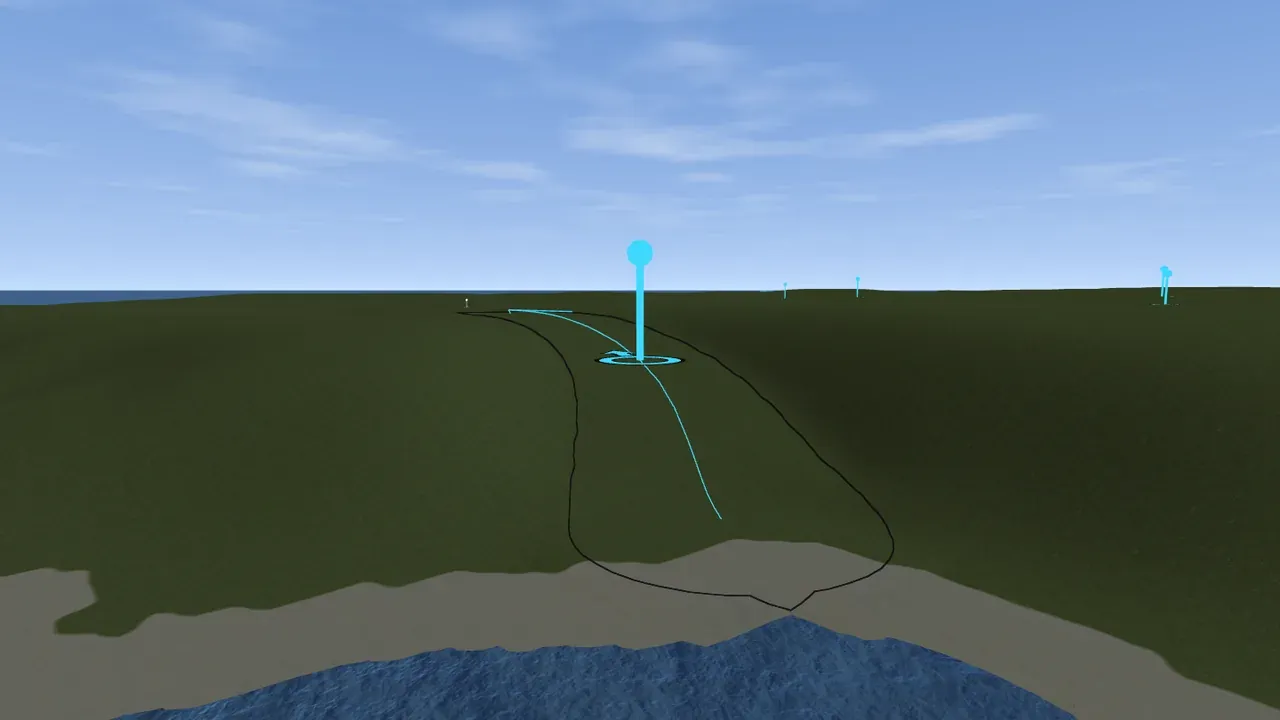
Ramps
A Rust map with tall cliff coasts and mountain bands needs ways up them, or players and vehicles get stuck below. Crucible cuts ramps into the terrain for you: a climb about as wide as a Rust road plus its roadside, cut into the cliff or built up against it, with its foot on the land and its top on the ground above.
Ramps are part of the heightmap itself. They carry into the exported .map and the in-game view like any other ground, with no prefab and no special texture.
Both ends of a ramp ease onto the ground around them, with no step or bump at the foot or the top. The ramp itself stays clean: no cliffs, no small rock formations, no trees, and none of the topology RustEdit’s procedural generation spawns rocks and trees from (Cliff, Cliffside, Decor, Clutter, Forest, Forestside). Cliffs along its sides stay.
Ramps on multi-island maps
Section titled “Ramps on multi-island maps”Open the island randomizer drawer (I). The Ramps switch sits at the top of the map styles column.

With it on, every multi-island Conjure finds the cliffs a player cannot drive past and puts ramps up them. Bigger maps get more of them. A map you draw yourself follows the same switch. Flipping the switch adds or removes the ramps on the map you have open straight away.
They come in a few kinds:
- Straight ramps climb one cliff, in one or two levels with a flat landing between.
- Beach ramps start on the sand and cut inland through the cliff. Most of them bend as they climb.
- Winding ramps reach ground no straight ramp can, such as a volcano’s rim or a tall plateau, by winding up the slope.
+ Spawn adds more ramps to the map you have open, wherever they are needed. Press it again for more; ramps already on the map stay as they are.
See them: press M
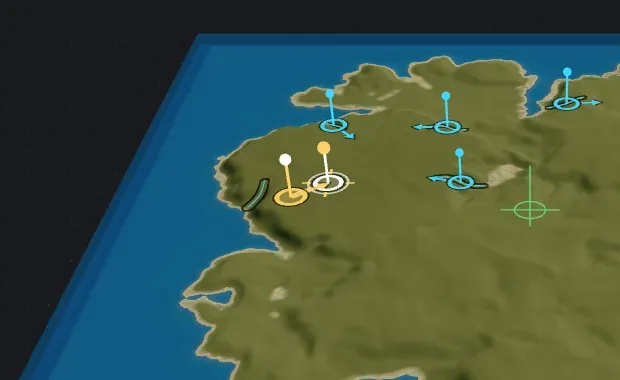
Section titled “See them: press M”Press M (or the ramp button in the view toolbar) to show every ramp. Each one gets a thin outline on the ground and a marker: a ring with a handle on top and an arrow pointing up the climb.
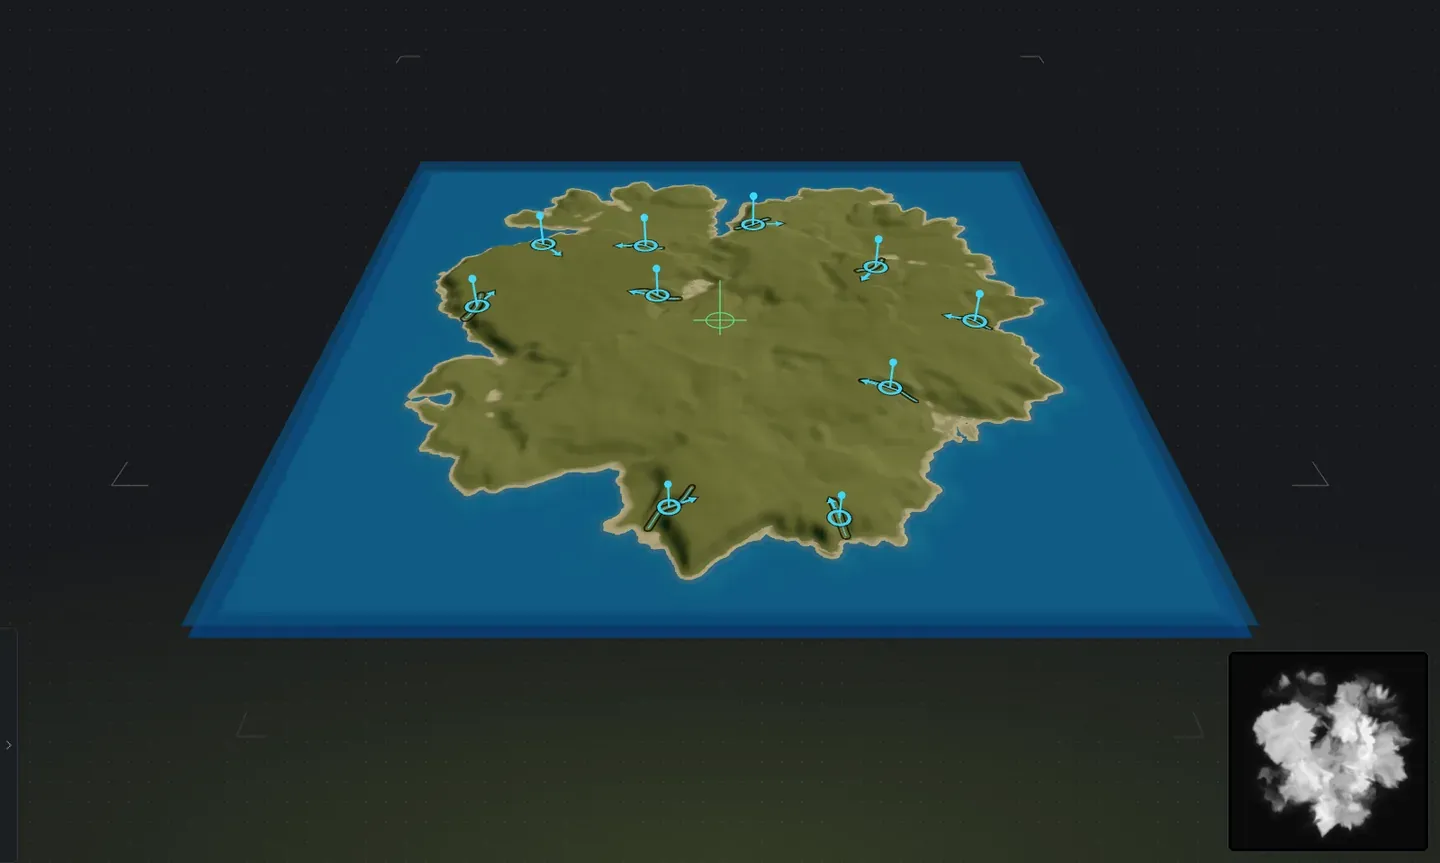
The marker changes as you work with it:
- Blue: a ramp.
- Light blue, bigger handle: the ramp under your cursor. The pointer turns into a hand.
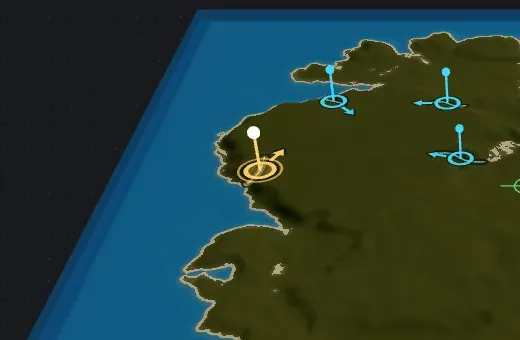
- Gold with a halo: the ramp you selected. A selected ramp keeps its marker even with M off.
- White with a halo: a ramp you are dragging.
- Gold line to a white target: a ramp waiting for its end point.
Select, move or delete a ramp
Section titled “Select, move or delete a ramp”- Select: click a ramp. This works in every view, with M on or off.
- Deselect: press Escape.
- Delete: select it and press Delete. It stays gone when the map rebuilds, and when its island moves.
- Move: drag its marker (with M off, select the ramp first, then drag it). When you let go, that point is the ramp’s new start, and a gold line follows your cursor. Click where the ramp should end, and it is rebuilt between your two points, fitted to the ground. A long move offers its routes first; a short nudge rebuilds it straight away. Escape or a right click calls it off and nothing changes.
Every ramp belongs to the island it climbs. Moving, turning, resizing or flipping that island takes its ramps with it, and deleting the island deletes them too. A ramp you drag onto another island belongs to that one from then on.
If the climb between your two points is taller than one level, the ramp picks how many levels it needs. Undo and Redo (Ctrl + Z, Ctrl + Shift + Z) step back through all of it and keep your selection.
Place your own: + Add new
Section titled “Place your own: + Add new”Click + Add new in the drawer. Your pointer becomes a ramp marker. Click the map where the ramp should start, then click again where it should end. If the ground offers more than one way up, you pick a route; otherwise the new ramp is built straight away. Either way it ends up selected, so its sliders are ready.
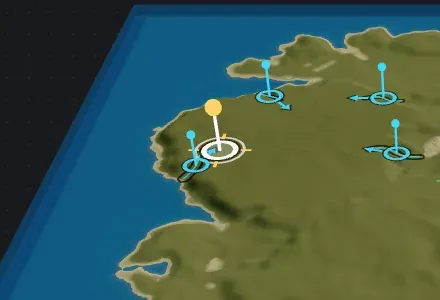
Escape or a right click cancels. This works on any map, including a single island or a map you built by hand with the Ramps switch off.
Pick a route
Section titled “Pick a route”When you place a ramp, or drag one a long way, there is often more than one way up between your two marks. Crucible shows each of them on the map in its own colour, each tagged with a letter: a straight climb, a climb that winds round the hill, or one that zigzags up with hairpins.
Hover a route to light it up, and click it to build it. Escape, or a click anywhere off the routes, builds the default route. The camera stays yours while you choose: a right drag pans or flies, and in the 3D view Space with a left drag turns it, without picking anything. When there is only one way up, there is nothing to pick and the ramp is built at once. + Spawn never asks: it places its ramps the way it always has.
Shape a ramp: the Ramp sliders
Section titled “Shape a ramp: the Ramp sliders”Select a ramp and the Ramp group in the sliders sidebar comes alive. Moving any row on an automatic ramp makes it one of yours, where it already is.
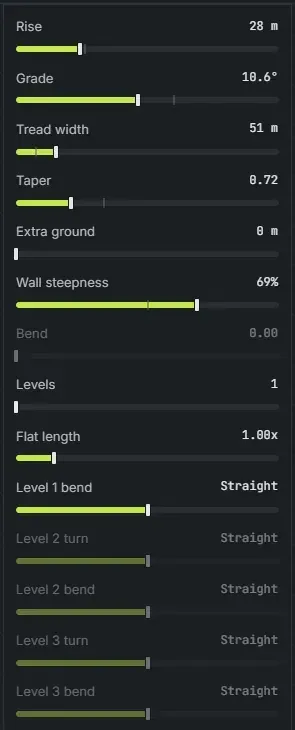
When the ground stops a ramp short of what a row asks for, the row says what was built, for example “80 m (52 m built)”. The full list of rows is in the sliders reference.
In the in-game view
Section titled “In the in-game view”Everything above works in the in-game view too: click, drag, Delete, Escape, M, + Add new and picking a route. Without markers a ramp is just ground, so this is the place to check how the climb really looks.