
Camera and navigation
Creator’s camera flies. You hold the right mouse button to look and to move, and you let go to get your cursor back for editing. Everything else on this page is about covering ground fast on a map that can be 6000 meters across. To come down and judge the map on foot instead, at a player’s eye height and speeds, see Walk the map.
Hold the right mouse button to fly. While you hold it, the mouse looks and these keys move you.
| Key | Moves the camera |
|---|---|
W / S | Forward and back, along the way you are looking |
A / D | Left and right |
Q / E | Straight up and straight down |
Let go of the button and those same letters are tool shortcuts again: S picks the Select tool, E
does nothing, and so on. That is deliberate, and it is what lets one keyboard carry both grammars. The
keys are listed with everything else on Keyboard shortcuts.
Two modifiers matter while you are flying.
| Input | What it does |
|---|---|
Hold Shift | Boost. Five times the base speed by default. |
| Scroll the wheel | Changes the base speed itself, in 10 percent steps, and it sticks. |
The base speed starts at 40 meters per second and the wheel takes it from 10 up to 2000. Every notch shows the new speed for a moment at the bottom of the view, for example “Camera speed 12 m/s”, and a notch that cannot go any further says so: “Camera speed 10 m/s (minimum)” or “(maximum)”. The readout never takes a click or a key, so you can keep flying through it.
The speed you scroll to is remembered between sessions, and the Speed slider in Preferences > GENERAL follows it, even while the panel is open. 10 meters per second is the slowest the camera goes, so it always visibly moves; for fine work, place things with the gizmo, snap and the nudge keys rather than by flying slower.
Scrolling while your pointer is over a panel scrolls the panel instead, so the speed you set does not change underneath you when you go to use the inspector.
The camera also stops flying, on purpose, while you are typing in a field, while a dialog is open and while you are capturing a new keybind. If the camera seems stuck, look for a dialog or a focused text box first. If it moves but slowly, scroll the wheel up over the map and watch the speed readout.
Frame what you care about
Section titled “Frame what you care about”F is the one key that saves the most time.
- Select a prefab (see Select and transform).
- Press
F. The camera moves to a padded oblique view of everything in the selection, whatever its size. - Press
Fwith nothing selected and you get the whole-map view instead: high, tilted down.
That second behavior is the fastest way to reset a lost camera. If you have flown out over the ocean
and cannot find the island, clear the selection with Esc and press F.
Camera bookmarks
Section titled “Camera bookmarks”A bookmark keeps a view you keep coming back to, numbered 1 to 9, so one key flies you there.
- Fly to the view you want to keep.
- Press
Shift+Altand a digit, for exampleShift+Alt+3. A message confirms that bookmark 3 is stored. - Press
Altand the same digit,Alt+3, from anywhere, and the camera is back at that position, looking the same way.
Storing a digit again replaces what it held. A digit with nothing stored says so, and names the key that stores it. VIEW lists the bookmarks under CAMERA BOOKMARKS, with each one’s number, where it looks from and its key; choose one to fly there.
Bookmarks belong to the map: they are saved in its sidecar the next time you save the map, and come back when you open it again. Storing one does not mark the map as having unsaved changes, so save before you close if you want to keep a new bookmark. They are for the map only: in the prefab workspace the keys say so and do nothing. All eighteen keys can be changed in Preferences > KEYBINDS, under Camera.
See where you are
Section titled “See where you are”| What you want | Where it is |
|---|---|
| Which way you are looking | The compass in the bottom right corner of the view. The mark at the top of the ring is where the camera faces; N, E, S and W turn round it as you turn, with a red pointer on north, and the line under it says the same in words and degrees (NE 045). North is the top of the map, as on the Map Overview and the game’s own map. VIEW > Compass hides it, and that choice is remembered |
| Your pointer’s exact spot on the terrain | The center of the status bar, as X, Z and H in meters |
| What the map holds under your pointer | VIEW > Layers At Pointer: a card under the tool pill with five lines, read where your pointer meets the terrain. Off until you turn it on, and remembered between sessions |
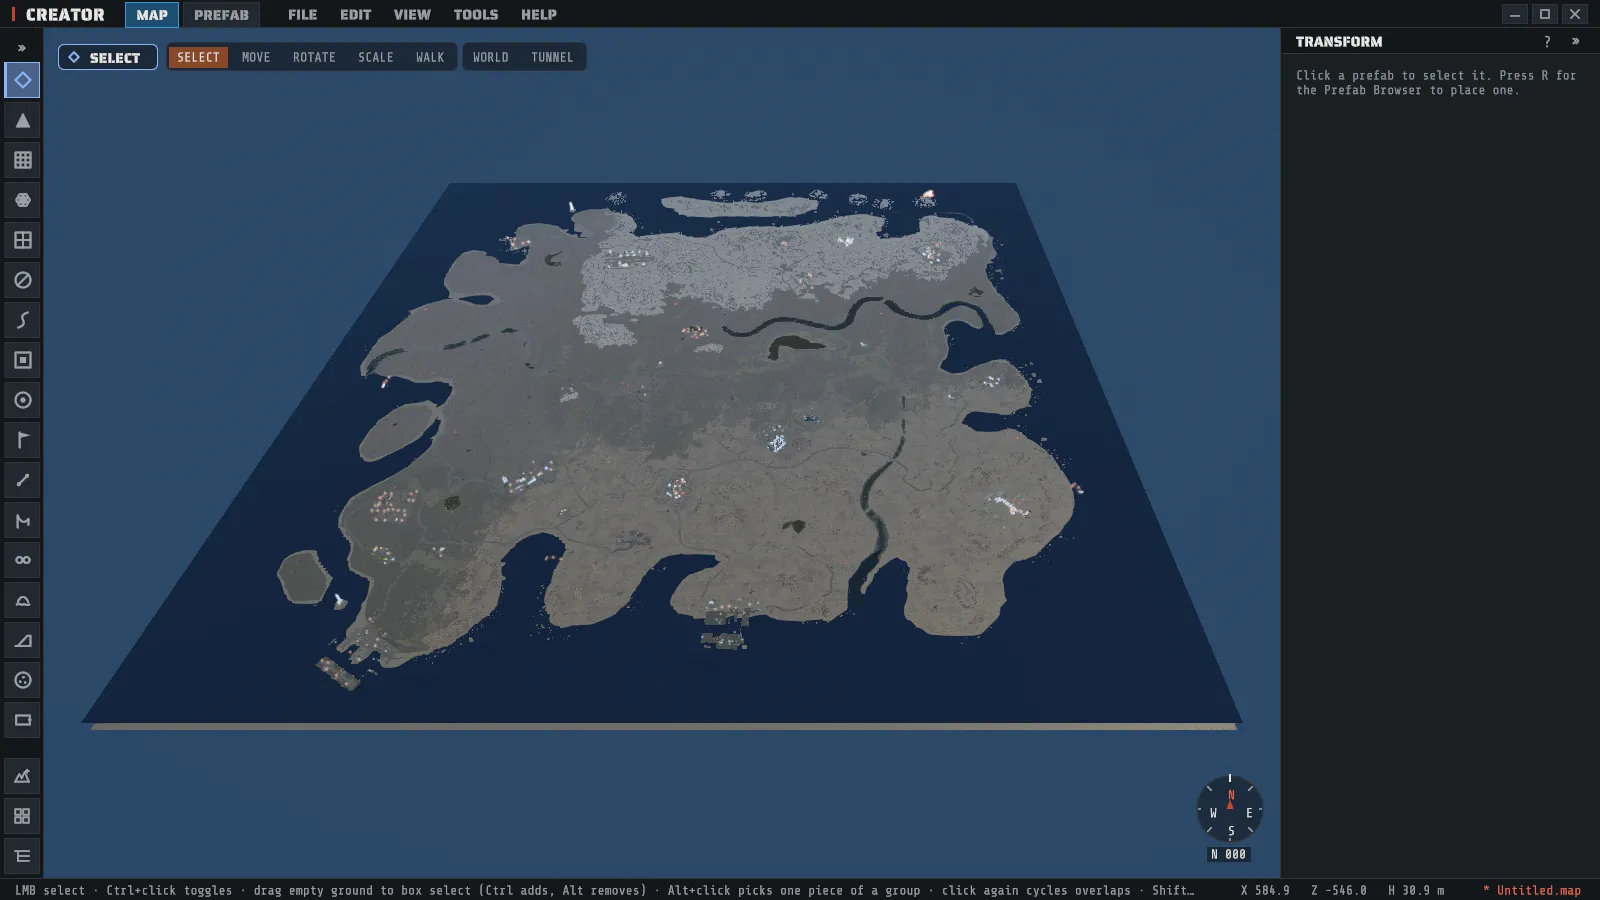
| The map from above, with monuments, roads, rivers and your camera on it | Map Overview, Tab. See The map overview |
| Every placed prefab as a list you can search | Scene Hierarchy, H. Clicking a row selects it, and F then frames it |
| The world origin, the map’s center at height 0 | VIEW > Origin (0,0,0): a 10 meter see-through sphere at the origin, and Origin: terrain on the right of the status bar, beside the map’s name, with the terrain’s height over it (+12.3 m above, -4.0 m below). Off until you turn it on, and remembered between sessions |
The Layers At Pointer card reads like this:
| Line | What it says |
|---|---|
Height 12.3 m Slope 14.3 deg | The terrain’s height (sea level is 0) and its steepness. These are the numbers the Height Gate and Slope Gate test, taken at the nearest height sample, so the height can differ by a fraction from the status bar’s H |
Ground: Grass 70 %, Rock 30 % | The ground textures mixed at that spot, strongest first |
Biome: Temperate 100 % | The biome, or the mix on a border. On a Semi-Tropical map the Tropical share follows in brackets |
Topology: Field, Forest, Mainland | Every topology bit set there, or none |
Alpha: solid | hole where the terrain surface is cut away |
It is a readout only: clicks and strokes pass through it to the ground. It is the quick answer to “why did my brush skip this spot”, because it shows the same values the brush filters read. The prefab workspace has no map layers, so the card is hidden there.
The overview is the navigation tool for a big map: find the monument on the picture, click the prefab
in the hierarchy, press F, and you are there without flying.
See the ground without what stands on it
Section titled “See the ground without what stands on it”Two entries in the VIEW menu take prefabs out of the picture without touching the map:
| Entry | What it hides |
|---|---|
| VIEW > Prefabs | Every placed prefab: monuments, rocks, trees, everything. The terrain, the water and the roads stay, so you can read and sculpt the bare ground. |
| VIEW > Rocks | Only the rock and cliff prefabs: the rock formations, coastal rocks, cliffs and small rocks the world generator scatters, and the cliffs you place yourself. Use it to reach a cave mouth, a road or a monument that a rock formation covers. A rock that is part of a monument stays. |
A hidden prefab is still in the map: it is saved, the Scene Hierarchy still lists it, and nothing about it changes. While it is hidden you cannot click it, box-select it or snap another prefab to it. A toast says how many prefabs the entry hid.
Both are views for the work in hand, not settings. They are on every time Creator starts and every time a map opens, so a map never opens with its prefabs missing. They are separate from EDIT > Hide Selection: turning Rocks back on does not show a rock you hid yourself, and EDIT > Unhide All does not show what a VIEW entry is hiding.
See the terrain’s height grid
Section titled “See the terrain’s height grid”VIEW > Terrain Wireframe draws the terrain as a grid of pale lines over the ground near the camera. Each line joins two of the map’s height points, so the grid is exactly what a sculpt brush changes and what the game reads: a steep cell, a step a brush left or a flat pad shows up as the shape of its lines. It pairs well with VIEW > Prefabs off, which leaves the bare ground and the grid.
| What | How it behaves |
|---|---|
| Where it draws | About 400 meters round the point under the camera. Fly on and the grid follows. |
| How fine it is | Every height point on a small area; every second or fourth one on a big map, so the grid stays light to draw. |
| While you sculpt | The lines catch up with the ground a moment after each stroke pauses. |
| Hills in front | Hide the lines behind them, as they hide the ground. |
Like the two entries above, it is a view and not a setting: nothing in the map changes and a save is the same with it on or off. It is off every time Creator starts and every time a map opens, and the prefab workspace never shows it.
Light and dark
Section titled “Light and dark”Nights on a real Rust map are dark, and so are interiors.
Lturns on a warm headlamp that rides the camera. The VIEW menu’s camera-light entry says whether it is on, and its brightness is the Light multiplier slider in Preferences.- The time of day is yours to set in VIEW > Time / Weather…, which is usually the better fix: see Time and weather.
Under the sea and under the ground
Section titled “Under the sea and under the ground”Fly below the sea level and the view takes on a blue-green water tint with a light haze that thickens with distance, so the seabed, the reefs and a lab a hundred meters off stay easy to read. The haze is lighter than in game.
If you want no haze at all, turn off VIEW > Underwater Haze. The view under the sea is then as clear as it is above it, with no tint and no haze. The setting is remembered between sessions, and it starts on.
Keep going down through the ground and the tint switches off: the train tunnels and the other underground corridors sit well below the surface, and from inside the ground the view is clear. That is where you fly to work on them.
The camera settings worth knowing about
Section titled “The camera settings worth knowing about”Five sliders in Preferences > GENERAL, all of them remembered between sessions: Speed, Boost multiplier, Look, FOV and View Dist. View Dist is the one with a visible cost: pushing it out shows more of the map but costs speed.
Nothing about the camera is an undo step. Flying, framing, switching the light and changing a setting
all leave your edit history alone, so Ctrl+Z always reverts the last thing you did to the map rather
than the last place you looked.